

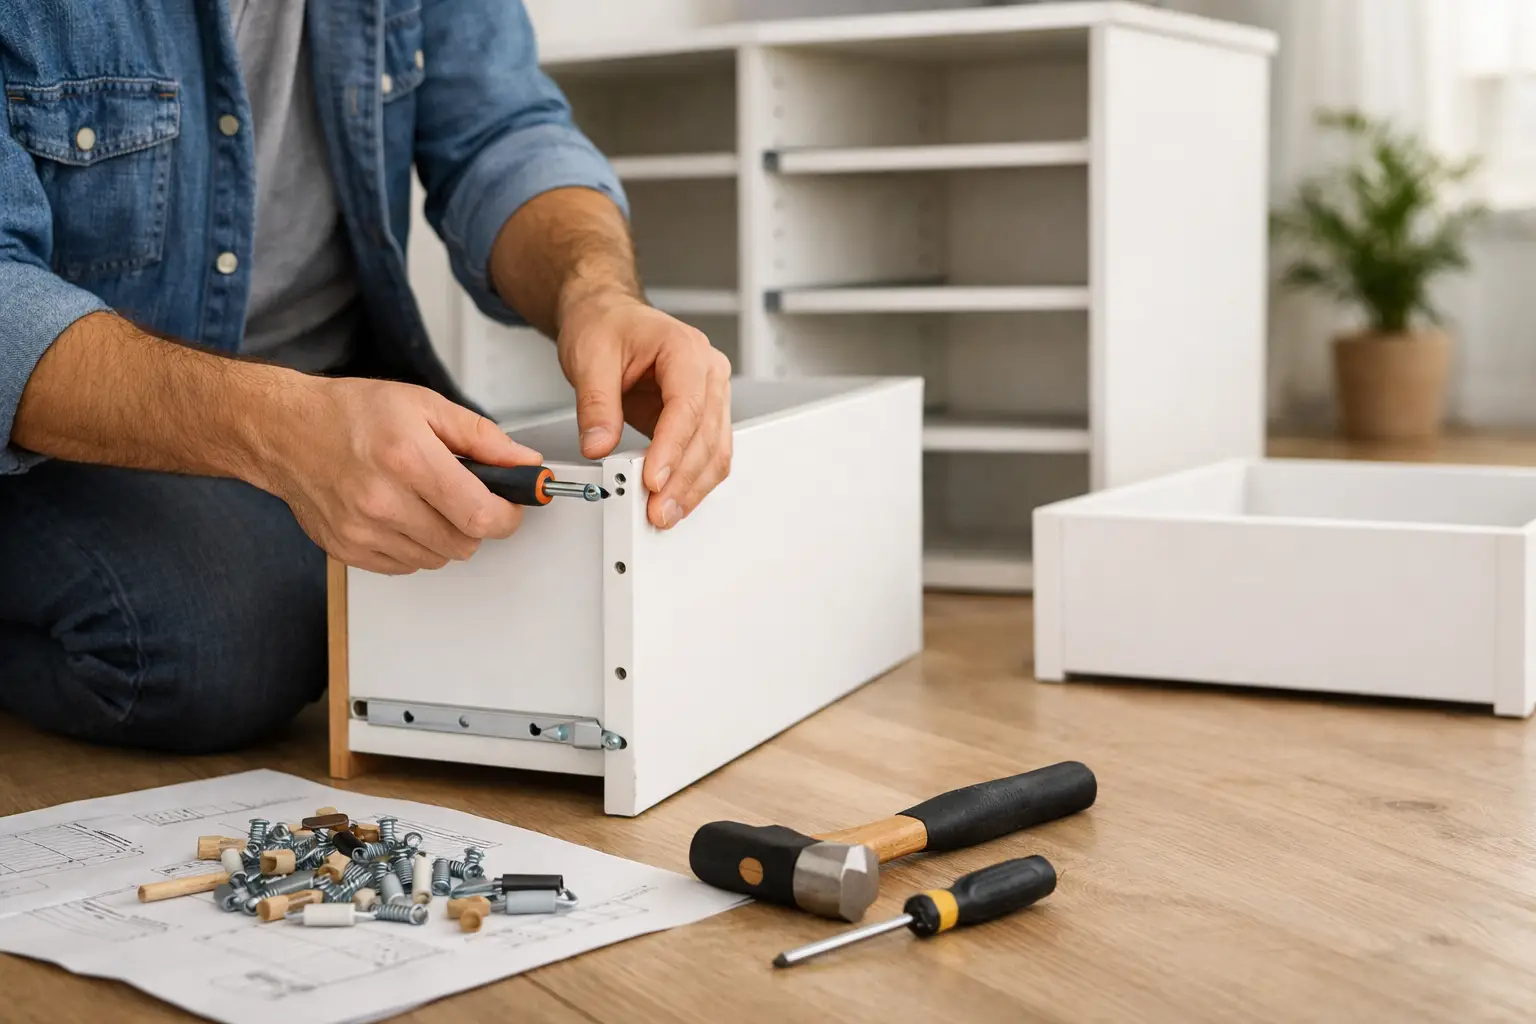
A new dresser can turn into a frustrating repair project fast when a panel gets scratched, a cam lock is overtightened, or the unit is moved before it is stable. Knowing how to assemble a dresser without damage comes down to slowing down at the right moments: before opening the box, while joining panels, and before loading the drawers. A careful setup protects your furniture, your floors, and the room it is going into.
Start With a Protected Assembly Area
The best time to prevent damage is before the first piece comes out of the carton. Choose a clean, open area close to the dresser’s final location. A bedroom floor, living room, or cleared hallway can work well, as long as there is enough room to lay out panels without stacking or forcing them against furniture.
Place a moving blanket, clean rug, flattened cardboard, or thick towels underneath the work area. This simple layer protects finished wood, laminate, and painted surfaces from grit on the floor. Avoid assembling directly on concrete, tile, or hardwood whenever possible. Small bits of hardware can also scratch hard flooring if they slide under a panel.
Keep drinks, pets, and children away from the parts while you work. That is not just about staying organized. Moisture can swell particleboard edges, and a stepped-on drawer slide or misplaced cam screw can create problems that are hard to spot until the dresser is already built.
Unbox Carefully and Check Every Part
Do not cut deeply into the box with a utility knife. Many dresser components are packed close to the cardboard, especially drawer fronts and thin back panels. Use scissors or make shallow cuts along the tape line, then fold the carton open.
As you unpack, set each panel finish-side up or on a padded surface. Keep the instructions, hardware bags, and drawer-slide pieces together. It helps to sort hardware into small cups or containers and label them based on the instruction booklet. Cam locks, dowels, screws, and bolts may look similar, but they are not always interchangeable.
Before assembly begins, compare the pieces with the parts list. Look for chipped corners, cracked panels, damaged drawer slides, missing hardware, or predrilled holes that appear stripped. Taking a few minutes here prevents a common mistake: forcing a mismatched part because it seems close enough.
If something is damaged, stop before building further. Assemble only after you have a usable replacement part or clear direction from the manufacturer. Continuing with a compromised side panel or drawer runner can make the dresser unsafe and may complicate a return.
Follow the Dresser Assembly Order Exactly
Instructions can feel repetitive, but the order is designed to keep the frame square. Many dressers begin with side panels, a base, and support rails. The back panel and drawer system usually come later because they help stabilize the finished cabinet.
Read through the full instruction booklet once before tightening anything. Pay attention to diagrams that show which side of a panel faces inward, downward, or toward the back. A finished edge may be intended to face the room, while unfinished edges are hidden inside the dresser or against the wall.
When installing cam locks, make sure the open arrow or indicator points toward the hole where the cam bolt will enter. Turn it only until it grips. If a cam will not rotate easily, do not force it with extra leverage. The bolt may not be seated correctly, or the cam may be facing the wrong direction.
Dowels need an equally gentle approach. Press them in straight and only as far as the instructions indicate. Hitting them hard with a hammer can split manufactured wood or push a dowel through the finished side of a panel. If tapping is necessary, use a rubber mallet or place a scrap wood block between the hammer and the part.
Tighten Gradually, Not All at Once
Leave bolts and screws slightly loose while you connect the main frame. This gives you enough adjustment to line up rails, shelves, and the back panel without putting pressure on a single joint. Once the cabinet is fully connected and sitting square, tighten the hardware in stages.
Overtightening is one of the easiest ways to damage a dresser. A power drill can strip particleboard, crack laminate, or sink a screw head too far into a finished surface. Use a hand screwdriver for cam locks and most furniture screws. If the instructions call for a drill, use a low setting and stop as soon as the fastener is secure.
Keep the Frame Square Before Adding Drawers
A dresser that looks assembled can still be slightly twisted. That often shows up later as drawers that rub, stick, or sit unevenly. Before installing drawers, check that the cabinet is level on the floor and that the corners are square.
The back panel is especially important. It is not simply a cover. On many dressers, it holds the cabinet in its proper shape. Attach it only after confirming the frame is even. Measure diagonally from corner to corner if you have a tape measure. Matching measurements generally mean the unit is square. If they differ, gently adjust the frame before securing the back.
When nailing or screwing on the back panel, work from the center outward. Keep the panel flat as you go instead of pulling one side tight first. This reduces the chance of shifting the cabinet out of alignment.
Install Drawers Without Forcing the Slides
Drawer slides are precise components. Separate left and right pieces as soon as you unpack them, because they can appear almost identical. Install each slide at the correct height and orientation according to the diagrams. A slide mounted backward may fit the panel but will not allow the drawer to close properly.
After attaching the slides, test one drawer before building or loading all of them. Pull it out slowly and push it back in. It should move with consistent resistance and close without a sharp scrape. If it binds, remove the drawer and inspect the slide alignment rather than pushing harder.
A sticking drawer does not always mean the dresser is defective. It may mean a screw is protruding slightly, the cabinet is out of square, or the two drawer slides are not level. Correcting that small issue early protects the slides and prevents chipped drawer fronts.
Move the Dresser Safely Into Place
Even a well-built dresser can be damaged during the final few feet. Do not drag it across hardwood, vinyl, or tile. Empty drawers should be removed or secured before moving, depending on the manufacturer’s instructions. Lifting with a second person is safer for the furniture and for your back.
Hold the dresser from the solid lower frame or side panels, not by the drawer fronts, top trim, or thin back panel. If the dresser is tall or heavy, use furniture sliders for short moves across a room. For stairs, tight corners, or a move-in with multiple pieces, professional help can reduce the risk of dents, dropped panels, and strained joints.
Once it is in place, check whether it rocks. Use the included levelers if available. A wobbly dresser puts uneven stress on its joints and makes drawers harder to operate. Keep it away from direct moisture sources and avoid placing very heavy items in the top drawers before anchoring it.
Anchor the Dresser to Protect Your Home
Anti-tip hardware is a safety feature, not an optional leftover in the hardware bag. Secure the dresser to a wall stud whenever the manufacturer provides a wall anchor kit, especially in homes with young children, pets, or active households. Use the hardware as directed and confirm the anchor is attached to a solid wall location, not only thin drywall.
Anchoring also helps protect the dresser itself. A tall unit can shift forward when several loaded drawers are opened at once. The right anchor keeps the piece stable and gives your household more confidence using it every day.
When Professional Assembly Is the Better Choice
DIY assembly works well when you have a clear workspace, the right tools, and time to follow each step. It may be worth bringing in help when the dresser is oversized, includes many drawers, arrives with damaged packaging, or needs to be carried upstairs after assembly. The trade-off is the service cost, but it can be less than replacing a cracked panel, repairing a scratched floor, or spending a weekend troubleshooting uneven drawers.
For Austin and Central Texas residents, Smart Solutions TX provides careful in-home furniture assembly with background-checked technicians and a 90-day service guarantee. That means you can focus on settling into your space while someone else handles the hardware, alignment, and final stability checks.
A dresser should feel solid from the first drawer pull, not like a project you have to revisit next week. Give yourself room to work, protect each finished panel, and stop whenever a piece does not fit as expected. Care at those small decision points is what keeps a new dresser looking new.