

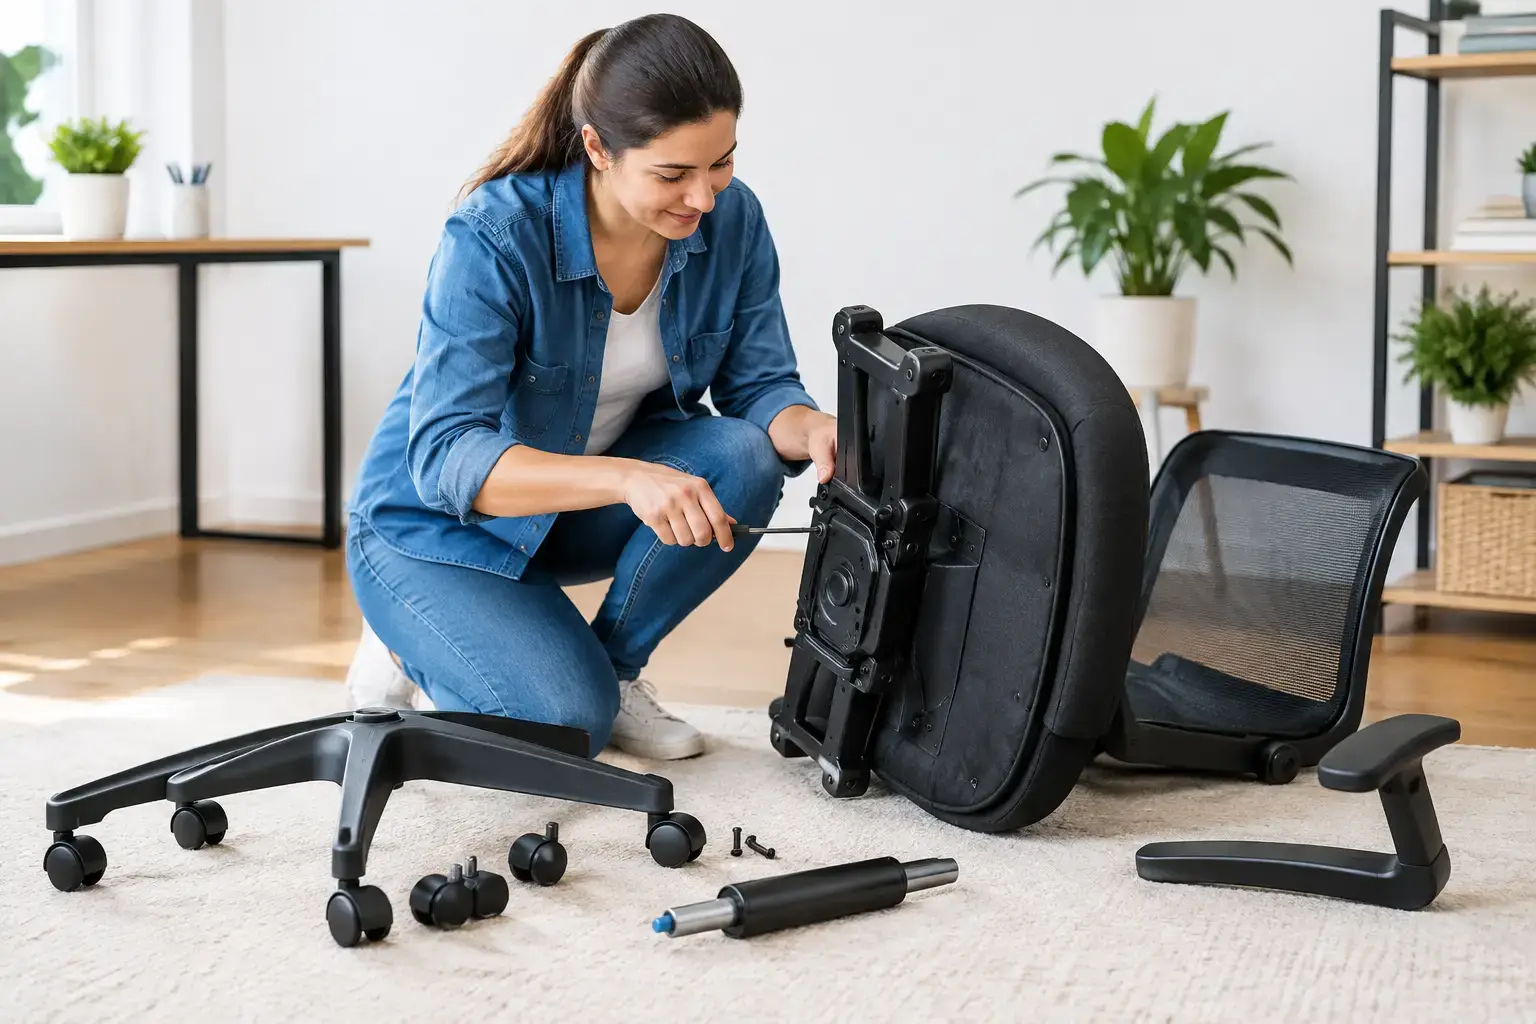
A new office chair can make a work-from-home setup feel finished fast – until the box is open, hardware is scattered across the floor, and the instruction sheet seems to skip a few key details. Knowing how to assemble office chair components in the right order helps prevent stripped bolts, an uneven seat, and a chair that does not feel secure when you sit down.
Most office chairs take 20 to 45 minutes to assemble, depending on the design. The job is manageable for many homeowners and renters, but it pays to slow down at the connection points that carry your weight. A few minutes of careful setup can help your chair stay comfortable, stable, and ready for daily use.
Before You Assemble an Office Chair
Choose a clear, clean work area with enough room to lay out the chair parts. A rug, flattened cardboard box, or moving blanket protects both the floor and the chair upholstery while you work. If you are assembling on hardwood or tile, this step also keeps small screws and washers from rolling away.
Open the box carefully rather than cutting deeply into it. Chair parts are often packed close together, and a utility knife can nick the fabric, mesh, or faux leather. Set aside the instruction manual and identify each major piece before attaching anything.
Most office chair boxes include a five-star base, five casters, a gas-lift cylinder, a decorative cylinder cover, a seat mechanism, a seat cushion, a backrest, armrests, and a hardware pack. Some models combine the seat mechanism and cushion, while others use a one-piece back-and-seat frame. The included Allen wrench is usually all you need, although a small screwdriver may be needed for armrest covers or adjustment levers.
Do not assume every screw is interchangeable. Manufacturers often include bolts in slightly different lengths. A long bolt installed where a short one belongs can poke through upholstery or damage the frame. Keep the hardware sorted by size until the chair is fully assembled.
How to Assemble Office Chair Parts Step by Step
The exact order can vary by manufacturer, so the included manual should always take priority. Still, most rolling office chairs follow the same basic sequence.
Start with the base and casters
Turn the five-star base upside down on your protected work surface. Press a caster stem into each opening at the end of the base legs. You should feel each wheel click or seat firmly into place. Casters usually do not require screws.
If a wheel will not insert easily, check that you are using the correct side of the base and that packing material is not blocking the opening. Avoid hammering a caster into place unless the manufacturer specifically instructs you to do so. Too much force can crack a plastic base or bend the caster stem.
Once all five wheels are installed, flip the base upright. Insert the gas-lift cylinder into the center opening, with the wider end down. Slide the plastic cylinder cover over it if your chair includes one. The cylinder normally stays in place through pressure and the weight of the chair, so it does not need bolts or glue.
Attach the seat mechanism correctly
Place the seat cushion upside down on a clean surface. Find the labels, arrows, or markings on the metal tilt mechanism. Many mechanisms are marked “Front,” and that edge must face the front of the seat. If it is installed backward, the height lever may end up behind you or the chair may tilt in the wrong direction.
Align the mounting holes, then start every bolt by hand before tightening any of them. This is one of the most useful habits when learning how to assemble an office chair. Starting bolts by hand helps you feel whether the threads are aligned and reduces the chance of cross-threading.
Once all bolts have caught properly, tighten them gradually in an alternating pattern. Tighten one corner a little, move to the opposite corner, and repeat until the mechanism is snug and even. Do not fully tighten the first bolt while the others are still loose. That can pull the mechanism out of alignment and make the remaining holes difficult to match.
Install the armrests and backrest
Armrests may attach to the bottom of the seat, the sides of the backrest, or both. Check whether the arms are labeled left and right. When labels are absent, position them so that any adjustment buttons or levers face outward and are easy to reach while seated.
Leave armrest bolts slightly loose until both sides are attached. This gives you enough flexibility to align the backrest or seat holes. If your chair has a separate backrest, ask another person to hold it steady while you start the bolts. A backrest can be awkward to balance with one hand while lining up bolts with the other.
Attach the backrest using the specified washers and bolts. Washers matter because they spread pressure across the mounting surface and help the bolts hold their position. Tighten the bolts evenly, but do not over-tighten. Excess force can strip threads, compress soft materials, or make future adjustments harder.
Set the chair on the gas lift
With the chair seat and backrest fully connected, carefully lift the assembled upper portion and lower the center opening of the mechanism onto the top of the gas-lift cylinder. Keep fingers clear of the connection point. Sit down gently to seat the parts together.
At this stage, the chair should roll, swivel, and raise or lower using its adjustment lever. The connection between the seat mechanism and gas lift tightens naturally as you use the chair.
Check Your Work Before Daily Use
Before rolling the chair to your desk, inspect every visible bolt and connection. The chair should not wobble, lean, or make sharp clicking sounds when you shift your weight. Test the height adjustment, recline feature, tilt lock, and armrest adjustments one at a time.
Sit in the chair on a level surface and put weight on it gradually. If one caster does not touch the floor, inspect the base and wheels for debris or an improperly seated caster. If the chair leans to one side, revisit the armrest and backrest bolts. An unevenly tightened bracket is often the cause.
After a few days of use, recheck the bolts. New chairs can settle slightly as the upholstery, foam, and frame take on regular weight. A quick retightening is normal, especially for chairs with adjustable arms or a separate backrest.
Common Office Chair Assembly Mistakes
The biggest mistake is rushing through the hardware. Mixing bolts, skipping washers, or forcing misaligned screws can turn a simple assembly into a frustrating repair. If a bolt resists after a few turns, back it out and try again. Forcing it is rarely the answer.
Another common issue is installing the tilt mechanism backward. Always pause to locate the front direction before tightening the seat plate. It is much easier to correct before the chair is fully built.
Avoid using power drills unless the manufacturer explicitly allows them. A drill can over-tighten bolts in seconds, especially on softer metal or wood components. The included Allen wrench takes more time, but it gives you better control.
Finally, do not discard the extra hardware immediately. Manufacturers occasionally include a spare screw or washer, but save the extras, manual, and Allen key in a labeled bag. They can be useful if you move, disassemble the chair, or need to make a small adjustment later.
When Professional Assembly Is the Better Call
Some office chairs are simple. Others have synchronized tilt systems, headrests, lumbar supports, multiple adjustment points, and heavy components that are difficult to position alone. If you are setting up several workstations, recovering from an injury, short on time after a move, or simply do not want to risk damaging a new chair, professional furniture assembly can be a practical choice.
For Austin and Central Texas residents, Smart Solutions TX provides careful, in-home furniture assembly from background-checked technicians, with a 90-day service guarantee for added peace of mind. It is especially helpful when an office chair is only one piece of a larger home office setup that also includes desks, shelving, filing cabinets, or wall-mounted screens.
A properly assembled chair should fade into the background of your day. You should notice the comfort and support – not a loose armrest, a crooked backrest, or the worry that something was missed. Take the time to build it carefully, and your workspace will be ready when you are.