

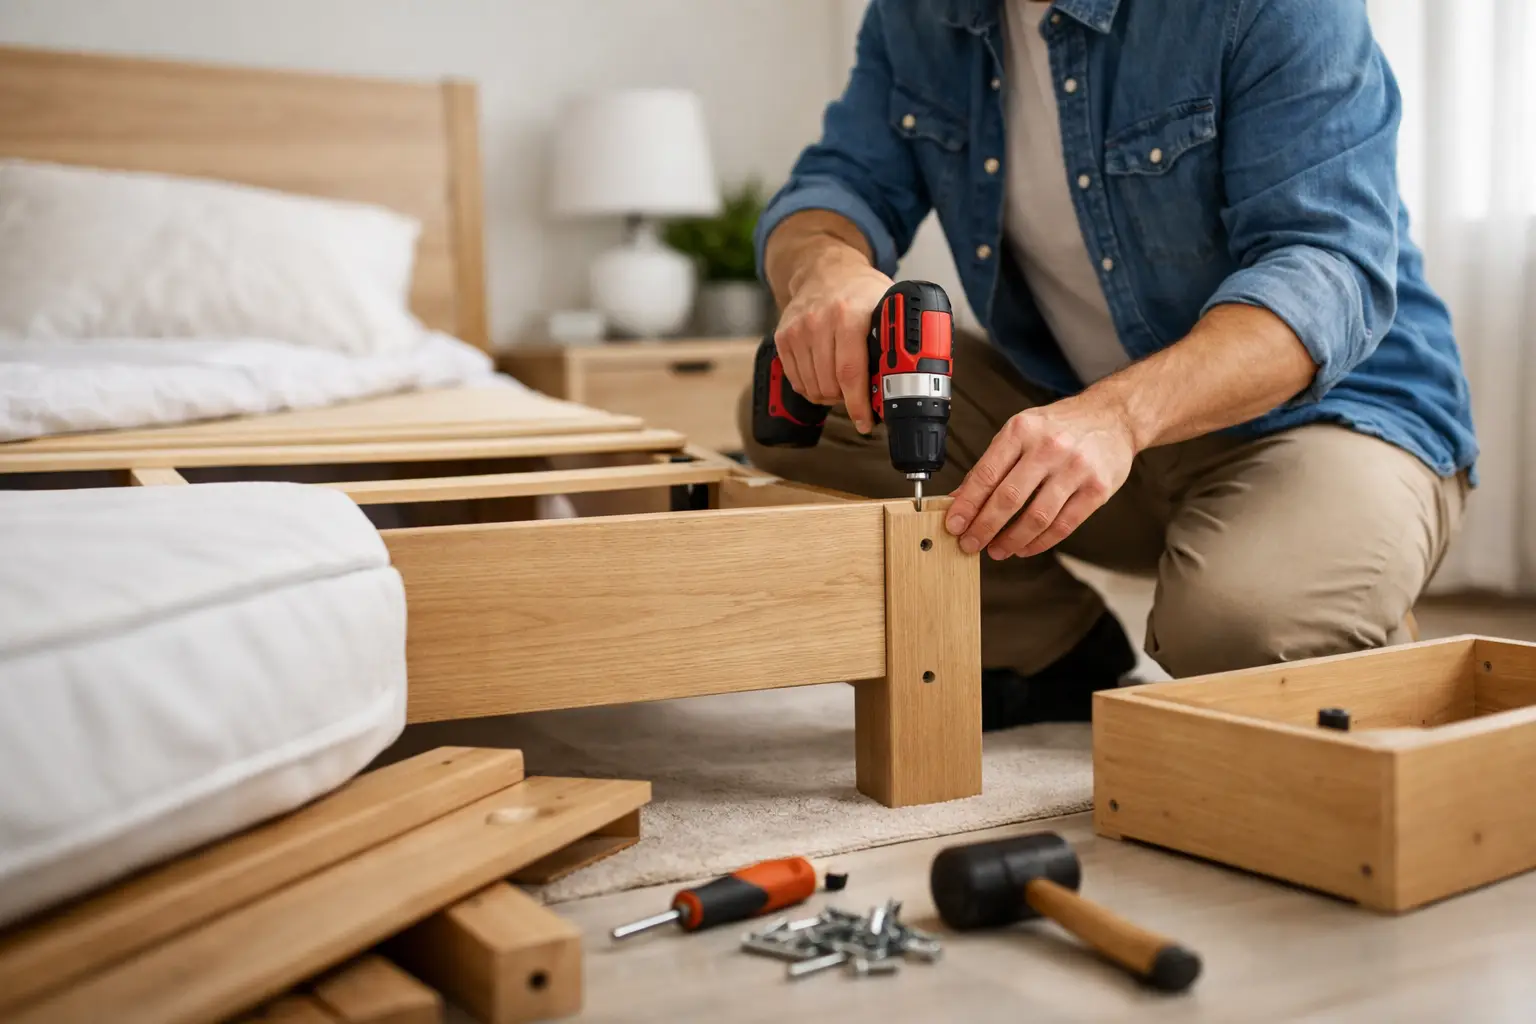
A bed frame that fit neatly through your doorway may suddenly feel impossible to move once it is loaded with a mattress, drawers, hardware, and years of dust underneath it. Knowing how to disassemble bedroom furniture before moving day helps protect your belongings, saves time at the truck, and prevents a small job from becoming a frustrating one.
For many Austin renters, homeowners, and families preparing for a move, the goal is not to take every piece apart. It is to disassemble only what needs to be reduced for safe handling, tight hallways, stairs, elevators, or storage. A solid wood dresser may travel better intact, while a platform bed or large wardrobe often needs to come apart first.
Decide What Needs to Come Apart
Start with a quick assessment of each item and the route it must travel. Measure doorways, stairwells, elevator openings, and the furniture itself if space looks tight. Remove drawers, shelves, and loose components before deciding whether the main piece needs full disassembly.
Beds almost always benefit from being taken apart. Headboards, footboards, side rails, center supports, and slats are easier to carry separately and less likely to scrape walls or bend. Storage beds deserve extra attention because their drawers, lift mechanisms, and support systems add weight and complexity.
Dressers, nightstands, and chests are different. If they are sturdy, fit through the exit, and can be carried safely by two people, leaving the frame assembled can reduce the chance of damaging joints or stripping hardware. Take out the drawers first, especially on tall or heavy units. This lowers the weight and keeps drawers from sliding open while being carried.
Large armoires and wardrobes may need partial or full disassembly, particularly if they have removable doors, shelves, crown pieces, or a separate top section. Never force a bulky piece through a narrow opening. Pressure on a door frame or furniture joint can create damage that costs more to repair than taking an extra 20 minutes to disassemble it correctly.
Gather Tools Before You Start
Stopping halfway through because you need a different bit or wrench is a common source of moving-day delays. Check the assembly manual if you still have it, since manufacturers often use specific hardware or tool sizes. If the manual is gone, inspect visible bolts, screws, cam locks, and brackets before you begin.
Keep these supplies nearby:
- Phillips and flathead screwdrivers
- Allen keys or a hex-key set
- An adjustable wrench and pliers
- Painter’s tape, resealable bags, and a permanent marker
- Moving blankets, stretch wrap, and cardboard corner protectors
A power drill can be useful, but use it cautiously. High torque can strip particleboard, crack wood, or damage the heads of soft metal screws. For furniture hardware, hand tools usually provide better control.
Clear enough floor space to lay out rails, slats, and hardware without mixing pieces from different furniture items. If children or pets are nearby, work in a closed room or place small parts immediately into labeled bags. Loose bolts, cam locks, and brackets are easy to lose and dangerous if left on the floor.
How to Disassemble Bedroom Furniture Step by Step
The safest approach is to reverse the order in which the furniture was assembled. Work slowly, take photos as you go, and keep each item’s components together. Those photos are especially useful after a long moving day when every silver screw starts to look the same.
Empty and Prepare Each Piece
Remove everything from drawers, shelves, cabinets, and under-bed storage. Even if a dresser looks manageable, packed drawers make it heavier and put extra strain on drawer slides. Take removable drawers out completely and wrap them separately, or secure them only if the manufacturer recommends moving them in place.
Remove mirrors, glass panels, detachable lights, and decorative hardware before moving the larger structure. Wrap fragile pieces in moving blankets or appropriate protective materials. Tape should never touch a finished wood, painted, or mirrored surface directly, as it can leave residue or pull away the finish.
Take Photos and Label Connections
Before removing the first fastener, photograph the overall furniture piece and close-ups of connection points. Capture where brackets sit, which direction rails face, and how any cables or lift mechanisms are routed.
Label parts as you remove them. A small piece of painter’s tape marked “left rail” or “headboard bracket” can make reassembly far easier. For hardware, use one resealable bag per furniture item and write a clear label such as “Queen bed – bolts and washers.” Tape the sealed bag to a wrapped rail or place it in a dedicated moving box.
Disassemble a Standard Bed Frame
Remove the mattress and box spring or foundation first. Then lift out slats, unscrew any center support legs, and remove the center rail if the design allows. Keep slats stacked in order and secure them together with stretch wrap or tape wrapped around protective cardboard.
Next, detach the side rails from the headboard and footboard. Some beds use bolts and barrel nuts, while others have hook-style brackets that lift upward and out. Support the rail as you release it so it does not drop, twist the hardware, or scratch the finish.
If the headboard has separate legs, detachable posts, or a mounted mirror, remove those components only when necessary. Avoid overtightening or forcing hardware during removal. If a bolt will not move, confirm whether it is threaded in the expected direction and apply steady pressure rather than jerking the tool.
Handle Storage Beds and Bunk Beds With Extra Care
Storage beds can have drawer boxes, platform panels, hydraulic lifts, or heavy support frames. Remove drawers and loose panels first. If the bed has gas struts or a lift-up mattress platform, do not disconnect the mechanism without understanding how it is secured. These components can hold tension and may snap shut or shift unexpectedly.
Bunk beds should be fully disassembled before moving. Remove mattresses, guardrails, ladders, slats, and the upper bunk from the lower section according to the manufacturer’s instructions. Keep all safety hardware together and inspect it during reassembly. A missing guardrail bolt is not a detail to improvise.
Reduce Wardrobes and Armoires Carefully
Remove shelves, hanging rods, drawers, and doors whenever possible. Doors can be heavy, awkward, and vulnerable at their hinges. Have one person support the door while another removes the hinge screws, then label the hinges and hardware by location if they are not interchangeable.
Many large wardrobes use cam locks and dowel connections. Turn cam locks gently with the correct screwdriver, then separate panels without prying. Particleboard furniture is particularly vulnerable to chipping around connection points, so it may be worth leaving a sound, manageable piece assembled if it fits through the route safely.
Protect Parts for Moving or Storage
Disassembly is only half the job. Unwrapped rails, headboards, and dresser tops can be scratched in minutes during loading. Cover exposed surfaces with moving blankets, then use stretch wrap around the blanket to hold it in place. Do not wrap stretch film directly on delicate finishes for long-term storage, especially in Central Texas heat, where trapped moisture and heat can affect surfaces.
Protect corners with cardboard or padded covers. Keep long bed rails together, but place padding between painted or finished sides. Load flat panels upright when practical and avoid placing heavy boxes on top of them. Mirrors and glass should travel upright, clearly marked, and protected from shifting.
Store hardware bags in a consistent place, not loose in a drawer or glove compartment. A labeled “bedroom hardware” box prevents one of the most common reassembly problems: having every furniture part except the screws that hold it together.
When Professional Help Is the Better Move
DIY disassembly works well for straightforward furniture when you have time, tools, and another capable adult to help. The trade-off is that complex pieces can take longer than expected, and incorrect handling may lead to damaged finishes, stripped hardware, or an unstable setup at the new home.
Professional help is often the safer choice for heavy solid-wood furniture, king-size storage beds, bunk beds, delicate antiques, wall-mounted bedroom items, or pieces without clear instructions. It is also a practical option when your move is already filled with packing, work obligations, and family logistics.
Smart Solutions TX provides careful furniture assembly and moving support for Austin and Central Texas households that want reliable, hands-on help. Background-checked technicians can handle the details with precision, so you can focus on getting settled instead of hunting for a missing Allen key.
Before you close the door on your old bedroom, take one last photo of each labeled furniture bundle and hardware bag. That small step gives you a clear record of what belongs together and makes the first night in your new space feel much more manageable.